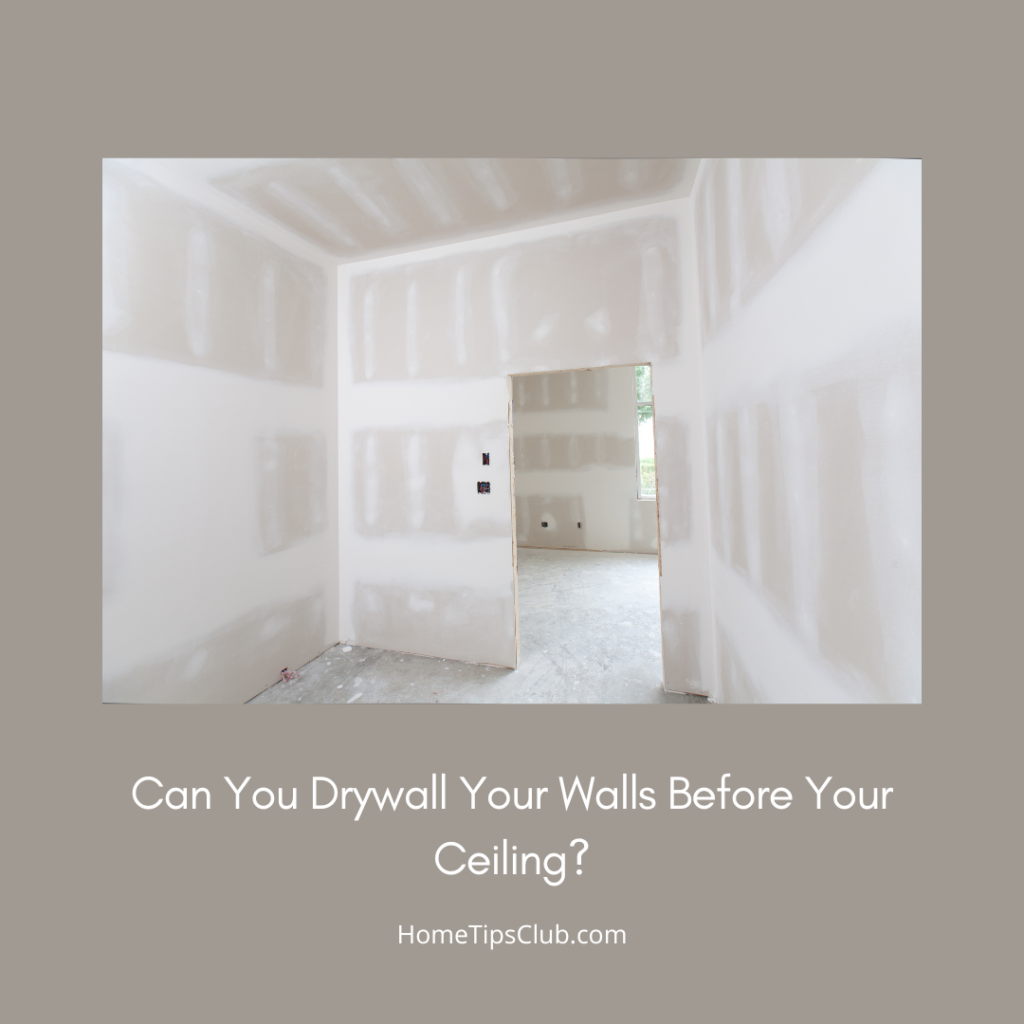
If you have never worked with drywall before, it’s easy to assume that you would start your drywall from the bottom up, stacking one on top of the other. However, the opposite is true. It boils down to support and which methods provide the most, giving you an easier job.
If you do the walls first, the ceiling drywall will but up against the vertical wall and remain unsupported. Over time, it may sag along that end. Doing the ceiling first eliminates that and allows you to create perfectly fitted corners and solid support throughout.
It may seem a little counterintuitive at first until you get started and realize the benefit of doing your ceiling drywall before the walls. If there is one thing that you want from the drywall in the long term, it’s stability.
Why Install Drywall on the Ceiling First?
When you hear the term, “support from your wall,” it’s easy to flip that into doing the walls first so they will support the ceiling drywall as you install it last. What the term means is “after the installation of the drywall,” not before.
In fact, this is the primary reason that you want to install the ceiling drywall first. The last thing that you want to end up with is 8’ of unsupported, horizontal drywall that is hanging out in the open air by a good 14” to 16”.
When you get within a foot of the wall, there is no ceiling joist for you to screw that end onto. Of course, you can always go up into the attic and add boards between the joists to give yourself something to screw into. The problem is, that’s an additional and entirely unnecessary step.
- You won’t need to take extra, unnecessary steps
- You get tight, well-fitted corners and edges
- It makes your drywall experience much faster and easier
- You have increased support for your ceiling drywall
- You won’t have to add extra tape and adhesive to your drywall’s edges
It’s Faster and Easier
There’s no getting around the fact that installing drywall in the ceiling is a pain in the neck. You have to work against the full force of gravity as you move around the edges, placing screws and compounds, smoothing out the material, and moving on to the next piece.
It’s best done with a minimum of two people. Once you have your ceiling in, however, everything that follows is that much easier. With your walls, you won’t have to carefully measure a gap at the top. All you have to do is slide them into place, firmly butted up against the ceiling drywall.
No Unnecessary Steps
When we do repairs on the drywall in the ceiling, it almost always works out so that the new replacement piece doesn’t have a joist to fasten to. In that case, you have to go into the attic and install 2×4 boards that run horizontally between the two joists where you are doing the repairs.
Once you have those installed, then you have something that you can screw the repair piece into. The only way to securely fasten your ceiling drywall’s edges (without the support of the wall sheetrock, is to go up in the attic and do just that.
It’s an extra step that you shouldn’t have to bother with and it’s also a waste of materials.
Nice, Snug, Well-Fitted Corners and Edges
Your ceiling has more support when you install the sheetrock on the walls after you install them on the ceiling. That includes unsightly gaps and the potential for sagging where the ceiling drywall is fighting against gravity on the edges.
When you are done, there should be a clean, seamless connection point all the way down the corner. Just be careful not to really smash the wall sheetrock upwards against the ceiling drywall. Drywall doesn’t necessarily expand and contract but the wood that it’s nailed to does.
You need to butt the vertical drywall up against the ceiling drywall and tack it down. Don’t overdo it or think that you need to apply a lot of upward force on the vertical drywall.
No Extra Tape and Adhesive
Since the wall now essentially supports the ceiling, you will only need to seal them together rather than going overboard with it. The wall sheetrock is more than enough to keep your ceiling piece in place.
Finetune Your Drywall Installation
If you have enough people with you to handle the extra weight, you should install as large a drywall section as you can. The larger the section, the more area you cover and the less you need to bother with adhesives and joint compounds.
Once you are done hanging your drywall, you should immediately start on the walls, laying your first drywall panels directly beneath the ceiling panels. Don’t start from the floor up as you want to start adding layers of support underneath the ceiling sheetrock right away.
Make sure that you have a solid attachment with each piece of drywall and the joists or studs beneath them or above them. When you screw in each panel, make sure you stop before the head of the screw embeds itself into the sheetrock.
If you go that far, removing the screw won’t help. The only option you will have is to fill in the gap with the joint compound, smooth it over, and paint it. Last but not least, don’t complete an entire vertical section of the wall at a time.
Simply install one vertical piece directly below your ceiling drywall, then move horizontally and install another to the left or to the right of the panel you just installed. Then you move down and work your way around again, building layers of support as you go.
All Things Considered
Ceiling drywall should always go in first. Working your way from the top, down to the ground in a circular method will ensure that you are stacking layers of support beneath the ceiling as you go along. It also makes for the easiest and best-looking drywall installation process.
If you found this helpful, please share it wherever you could! Also click on the tags below in order to see related posts!
